
Introduction
The strip down of the Z3 in preparation for the kit is relatively straight forward and can be done in half a day with a fair wind. This obviously depends on how rusty things are. If the front and rear ends of the sills are rusty it is usually a good indication that at least a couple of screws that hold them might need to be helped off with the trusty angle grinder.
Tools Required
The strip down can pretty much be completed with 8mm and 10mm sockets but there are a couple of things that may assist :-
8mm socket (& spanner)
10mm socket
13mm socket
Torx set
Trim tools
Pozi driver screw driver
Allen keys
Procedure
There is no set way of doing things and we often start off in one area and end up going off on a tangent. It does however, make sense to start at either the front or the back of the car. I personally prefer to start at the back but a couple of things can be removed to make things easier before you get going.
Inner Wings
Remove all four plastic inner wheel arches. This can be a real pain and it usually comes down to good old brute force as the retaining screws are often rusted.
On the front wings there are a combination of plastic poppers fixing the wings to the bumper, socket screws on the radius of the wing and 2 x 10mm socket screws holding the rear of the wing to the chassis.
The rear wings are a similar affair but there are no 10mm screws. There are however, normal cross head screws fixing the front of the rear wings to the side sills.
Having removed all four inner wings it will now reveal some of the other socket screws that we will get to alter.
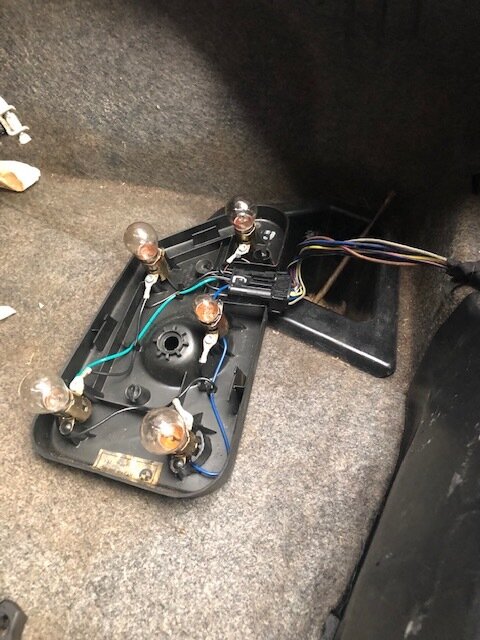
Rear Lights
In the boot unscrew the plastic retaining plugs to remove the plastic part of the light. Unplug the light units from the wiring loom. With the rear of the light section removed you can now remove the two brass coloured little 8mm nuts which hold the lens in place. Push the light from the inside out and they will come away.
Boot Rubber
Simply remove the boot rubber by pulling it away.
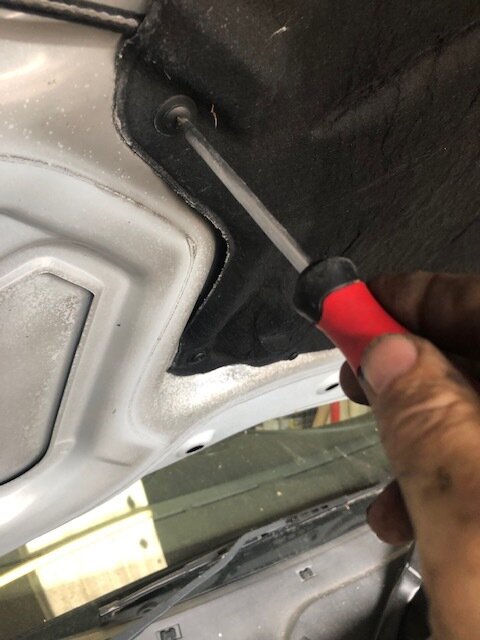
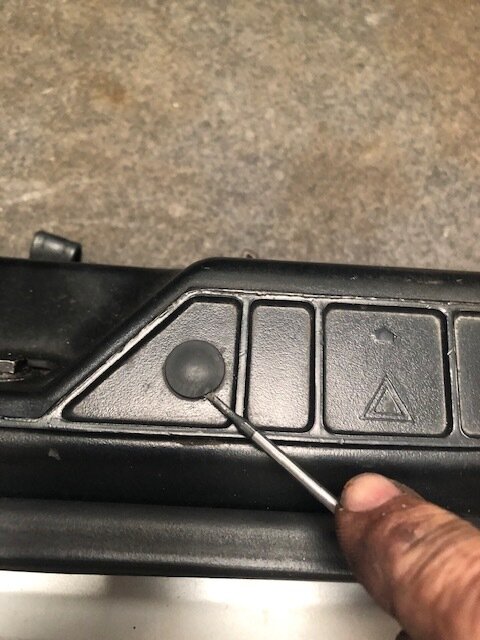
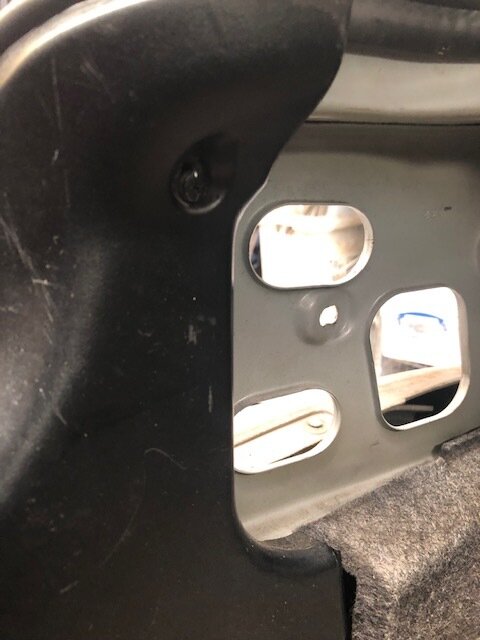
Rear Plastic Panel
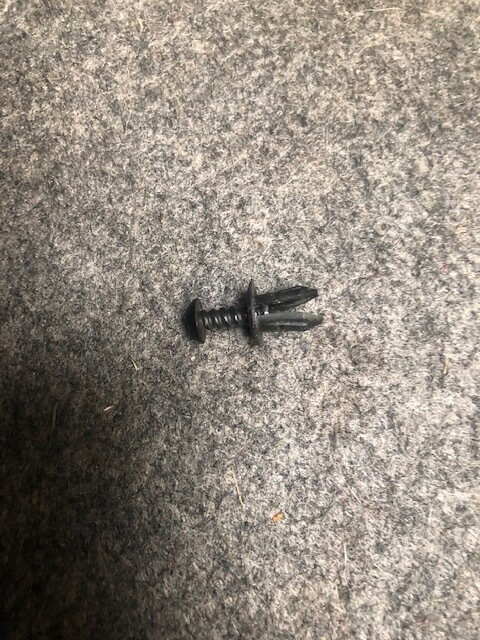
There is a black plastic panel on the inside of the boot which houses the warning triangle. It is not essential to remove this in each case but sometimes it’s better out the way. There are little plastic covers that need to be prized out so the screws can be accessed along the top edge. There are also a couple of plastic poppers on the inside face that usually unscrew.
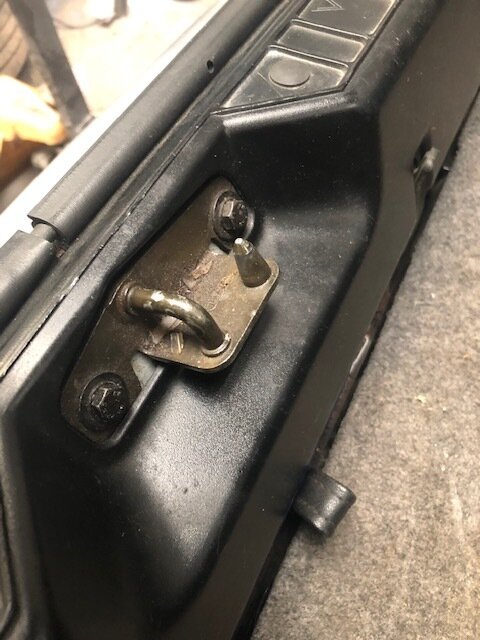
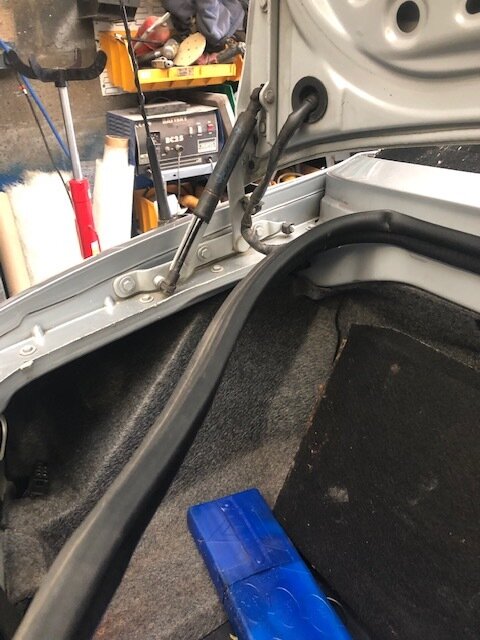
Rear Boot
Before removing the boot complete it is necessary to unplug the electrics and feed them out of the boot cavity and into the boot. That is a case of unplugging the connectors from the third brake light and the boot lock. This can be quite tricky particularly with the lock as you can’t get your fingers in to release the connector.
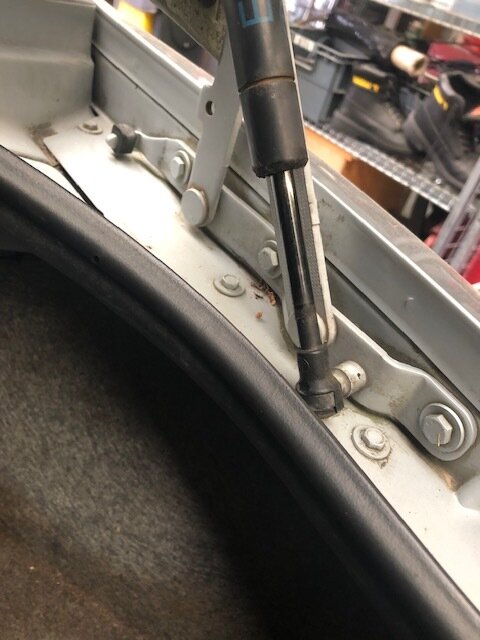
Once all the electrics are free it is then quite simply a case of undoing the 10mm socket bolts that secure the boot hinges to the rear wings.
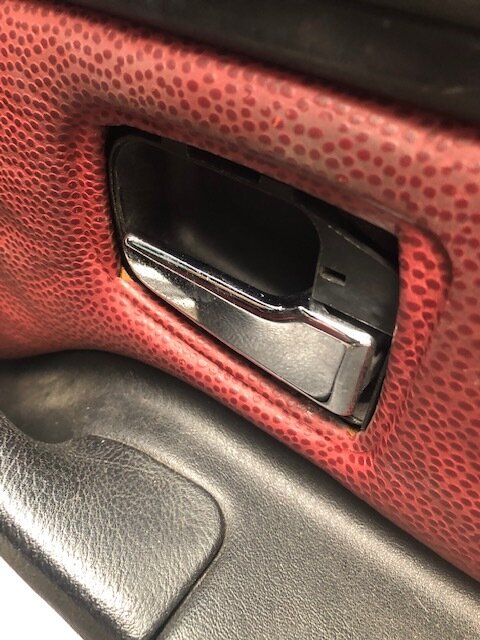
Internal Door Cards
The removal of the door cards is necessary so that the wing mirrors can be unplugged.
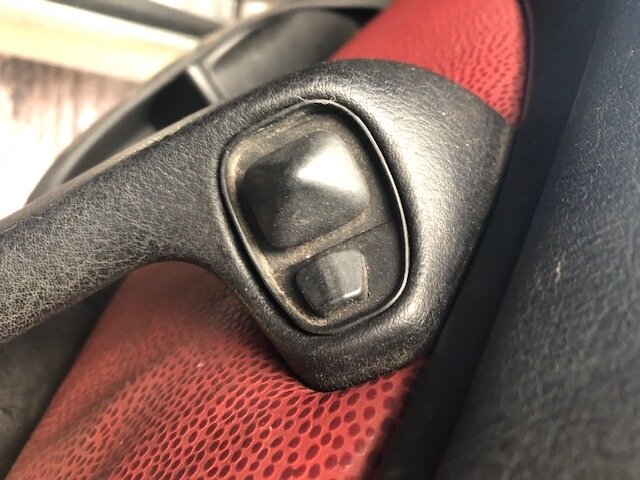
Slide back the plastic trim from around the door handle and remove it from the door card. Using a screwdriver or trim tool prise out the wing mirror electrical switch (on the passenger side there is no switch, just a blanking plate). Once these are removed there is access to a small Torx screw. This is the only screw holding the door card to the door, the rest of the fastenings are plastic poppers. Starting at the bottom of the door card, pull the card away from the door. When all the poppers are free lift the door card up and away. The door speaker can now be unplugged, along with the wing mirror.
Wing Mirrors
Holding onto the main part of the wing mirror twist through 90 degrees. Unfortunately if the mirror is heavily corroded this will cause the mirror to fracture away from the base. Once the mirror is twisted you can then get access to the two allen screws securing the mirror to the door. Undo these two screws (which are often corroded) and the mirror should come away. Feed the wire out through the door.
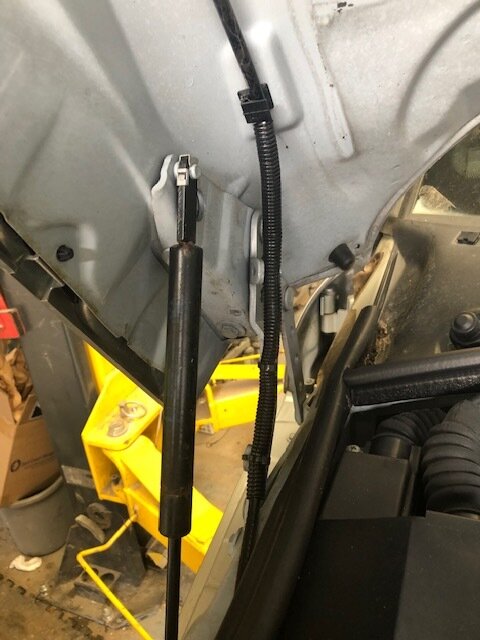
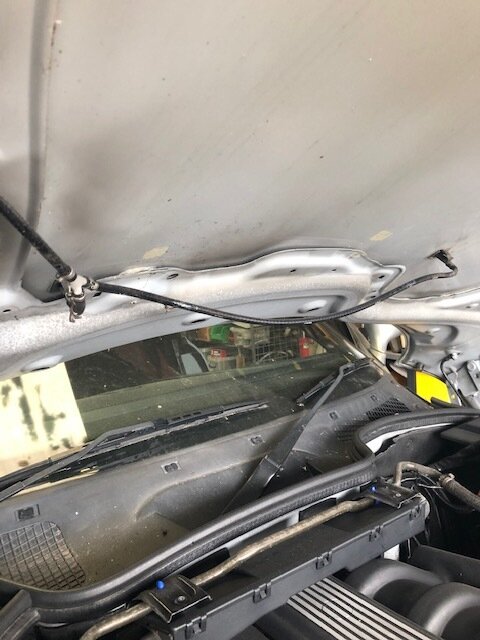
Bonnet
This can be really heavy once the gas strut has been released and the hinge loosened so this is definitely a two man job. If you try and do it on your own the boot has a tendency to slide backwards and impact with the windscreen. The worst case scenario is the screen breaks.
Before removing the bonnet completely remove the bonnet lining and the washer jet hoses. The lining has a number of plastic poppers which unscrew and the hoses simply pull off. Also remove the two bonnet catches as they are needed for the build. Don’t sell the bonnet with these still attached as you will need to buy more.
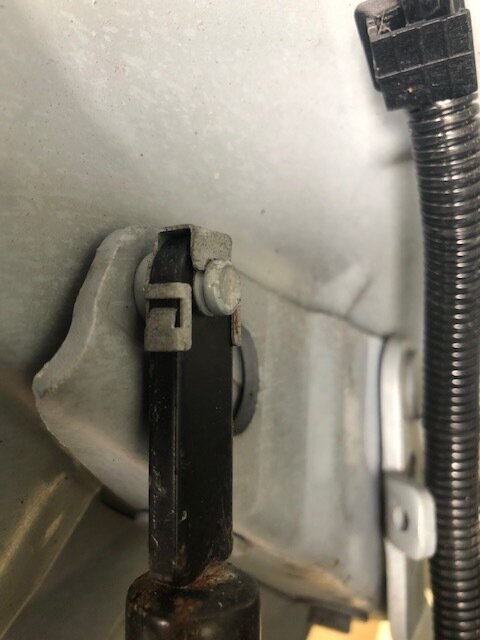
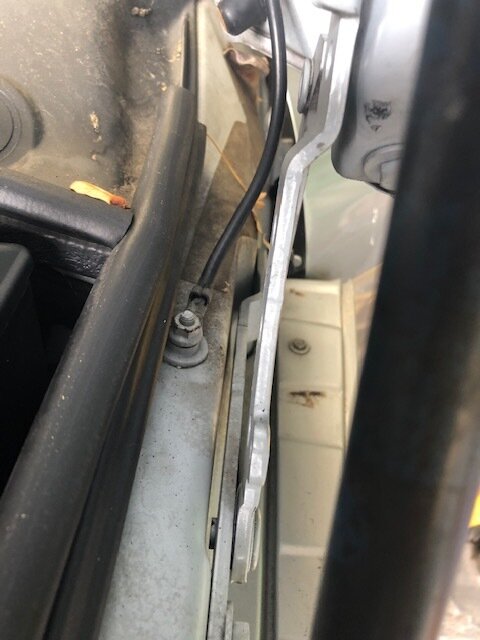
Release the gas struts by lifting up the securing tab and pulling them off their lug. Undue the earth strap located on the passenger side of the car. Undue the four 13mm socket bolts (two each side) and lift off the bonnet.
Note : At this stage we usually refit the bonnet from the kit so it doesn’t get damaged.
Front Wings
The front wings are secured by four 8mm socket screws, two on the top and two on the bottom. The bottom ones are a little more difficult and you need to open the door right up to get to one of them. When removing the wing first unplug and remove the side indicator repeater.
Front Bumper
You can remove various parts of the bumper but we prefer to remove the whole lot in one go.
Firstly start by removing all the plastic poppers on the underside of the bumper. There are quite a few of these and they connect to the under tray. Coming from underneath, use a Torx driver on a large extension and remove the two bolts that hold the bumper assembly to the front shock devices. Once these are removed it should be a case of pulling the bumper forwards and it will pull away from the plastic location brackets on each side. Take care when removing the bumper as the fog lights and side lights will still be connected. These can easily be unplugged. With the whole bumper removed the two shocks can be removed from the front of the car and then bolted back onto the bumper aluminium crash bar.
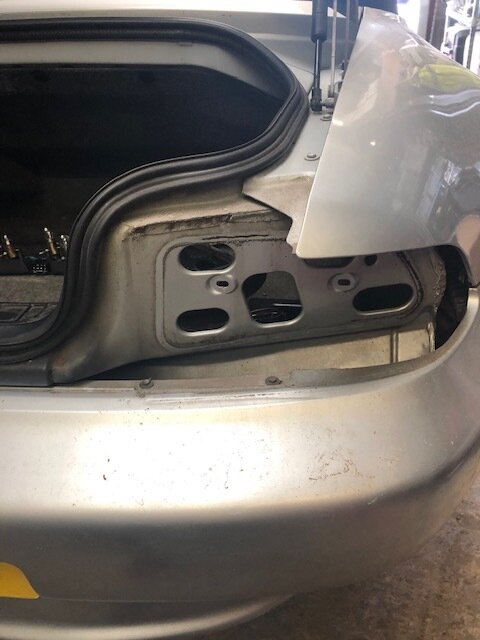
Rear Bumper
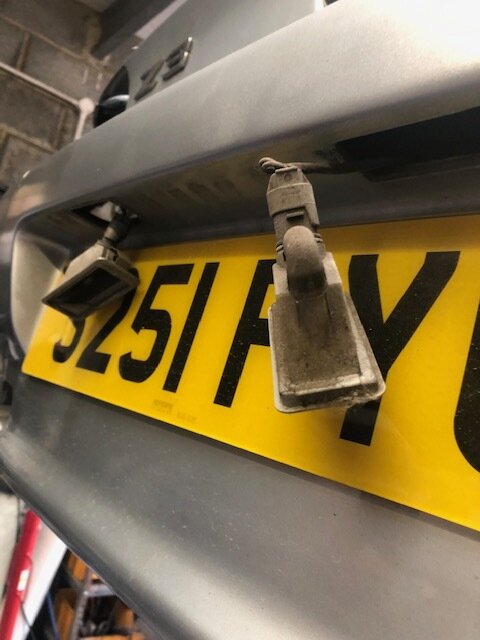
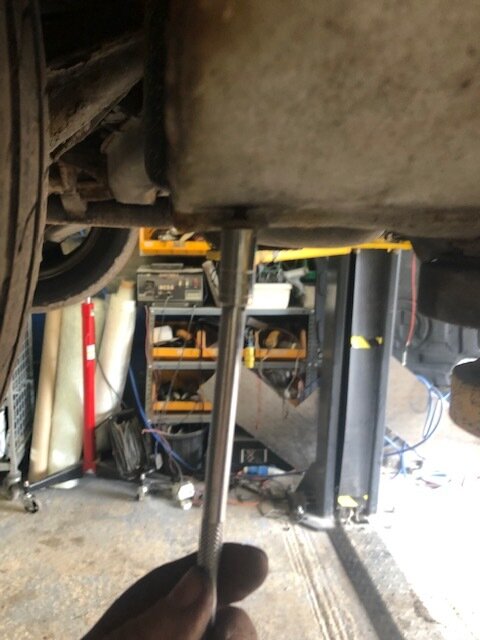
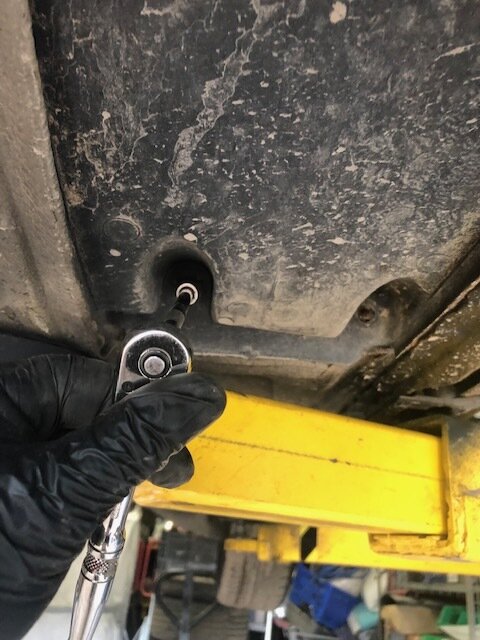
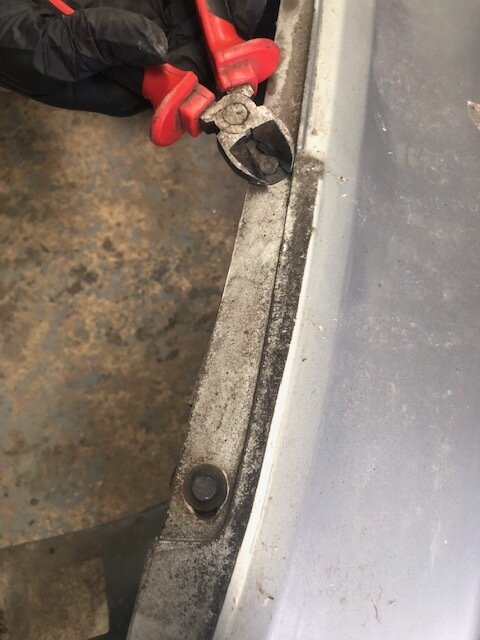
Before removing the rear bumper unplug the number plate lights. These just pull out from their aperture. The rear bumper can be removed in a similar way to the front one by undoing the large Torx bolts. One of these bolts however, can be quite difficult to get to as the spare wheel is in the way. If you can’t get to this bolt the spare wheel will have to be dropped down. In addition to the big bolts there are a couple of screws that attach to the sills. These are usually rusty and have to be cut off.
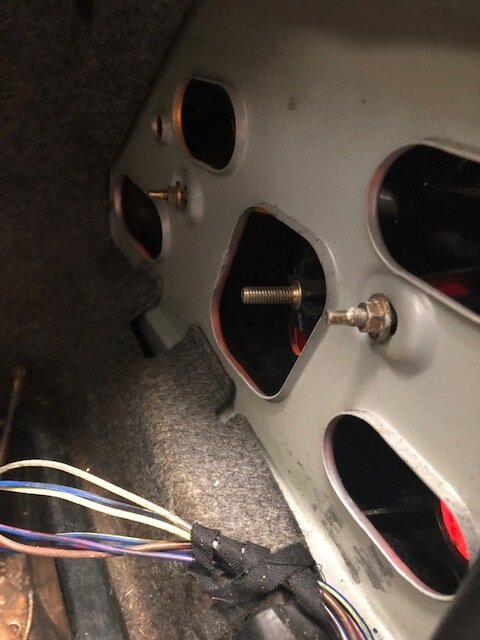
Front lights
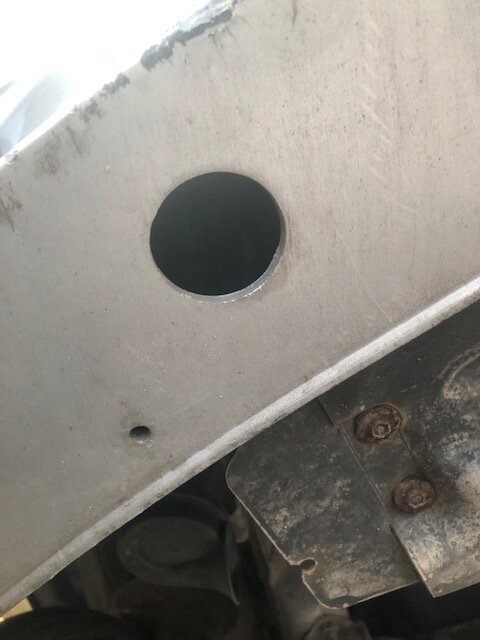
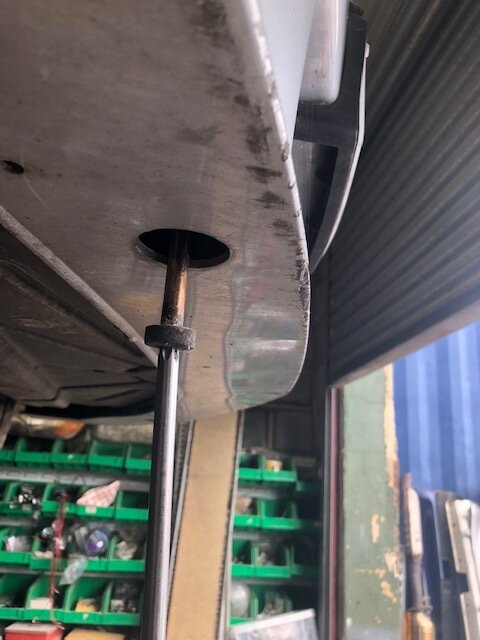
The front lights are secured by four 8mm socket screws. There are two that are quite visible at the top of the light and the other two hidden a little. One of these can be accessed through the hole in the front slam panel using a decent socket extension and the other is on the other side of the light. They can be quite rusted at times. When the light is removed all the electrics have to be removed. We tend to remove the bulbs and leave them connected to the loom so it’s easier to identify what is what later on.
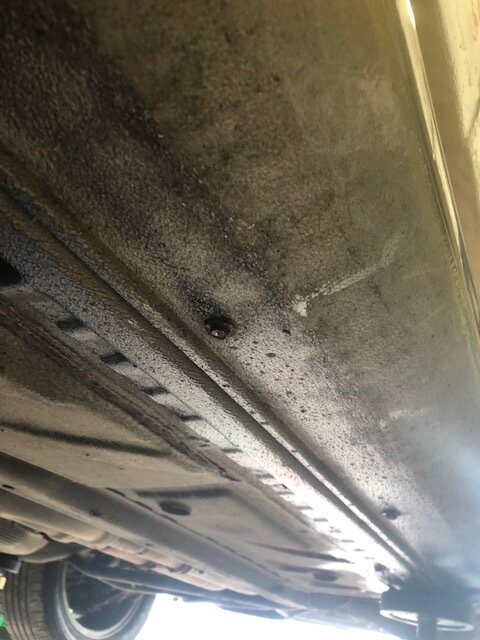
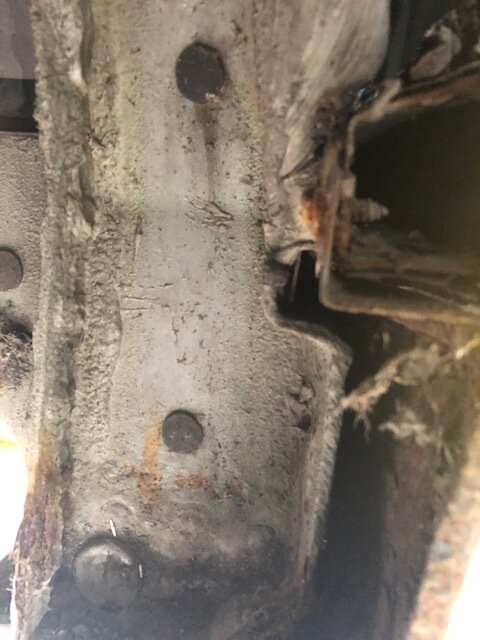
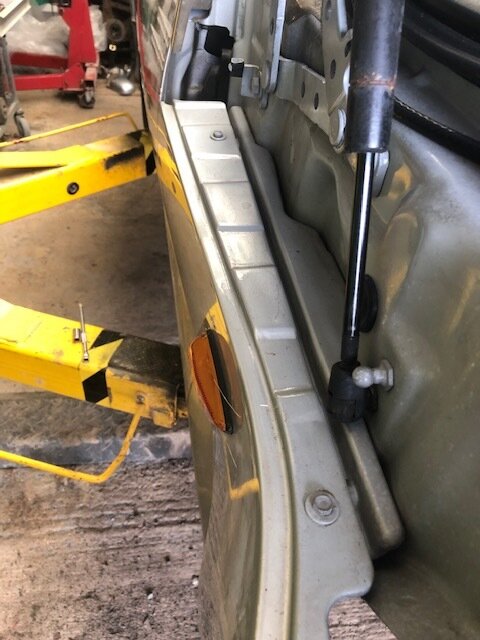
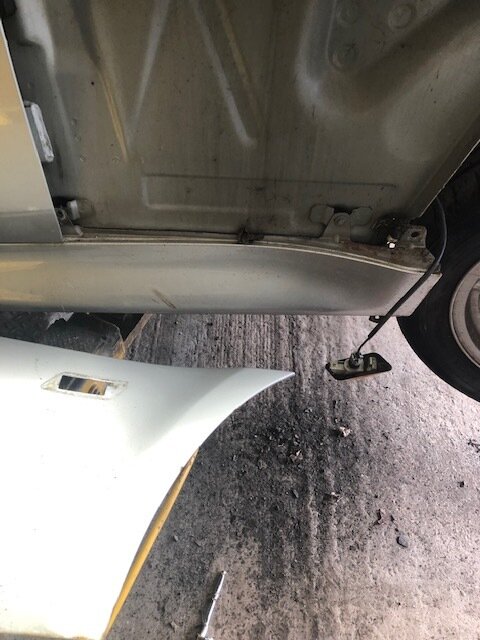
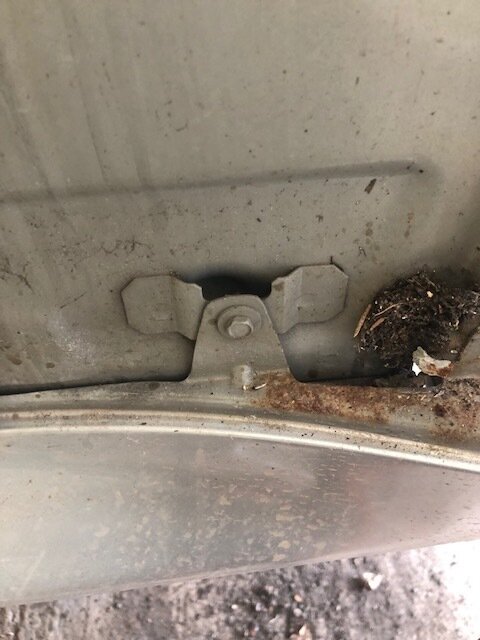
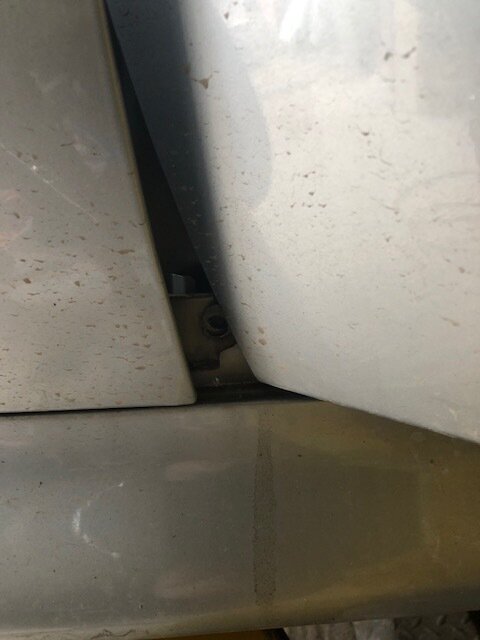
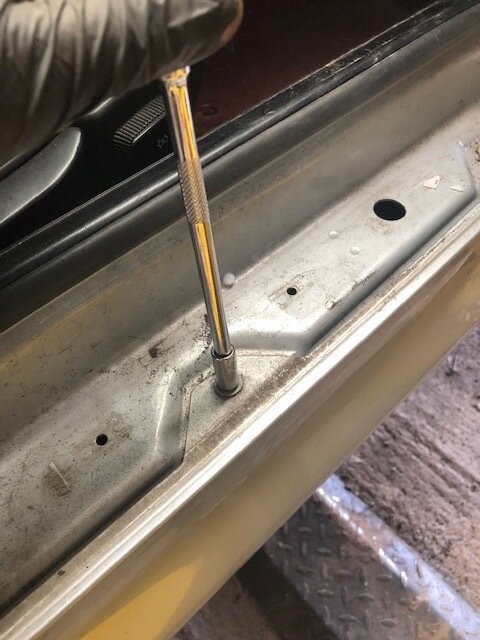
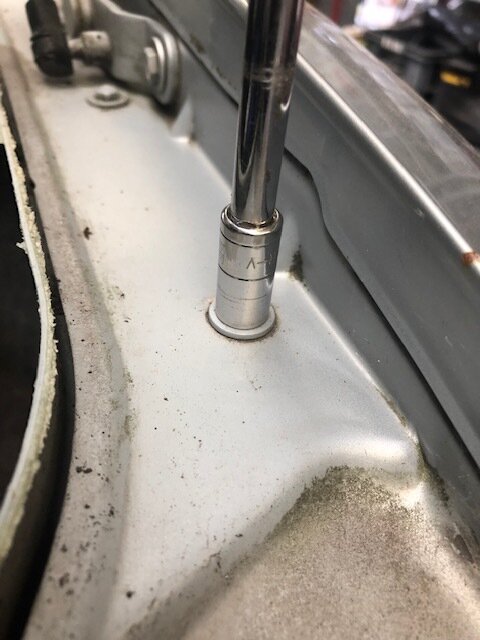
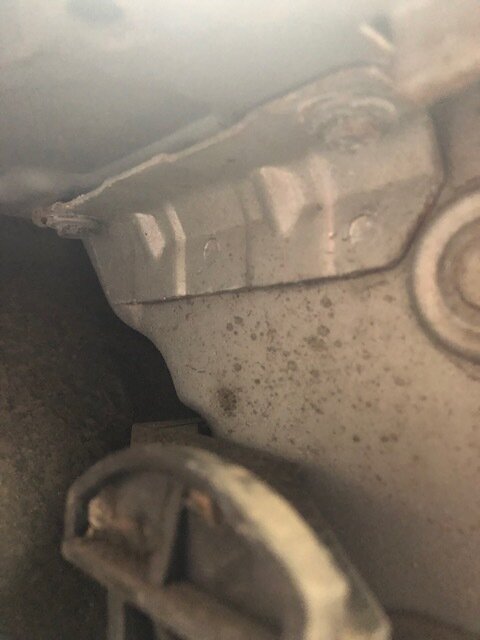
Side Sills
The side sills are secured to the car with a row of 8mm socket screws along the top in the door shut, a row under the car and one at each end. If your sills are rusted at the ends there is a good chance that the screws at each end are likely to be rusted through. This is where the trusty angle grinder may have to come into play. Luckily enough the two end screws are not required for the sills that come in the kit.
Rear wings
The rear wings are secured with three 8mm socket screws along the top of the boot area and a number inside the door shut. On the passenger side of the vehicle the aerial will need to be removed or pulled through the whole in the wing.
Internal trim
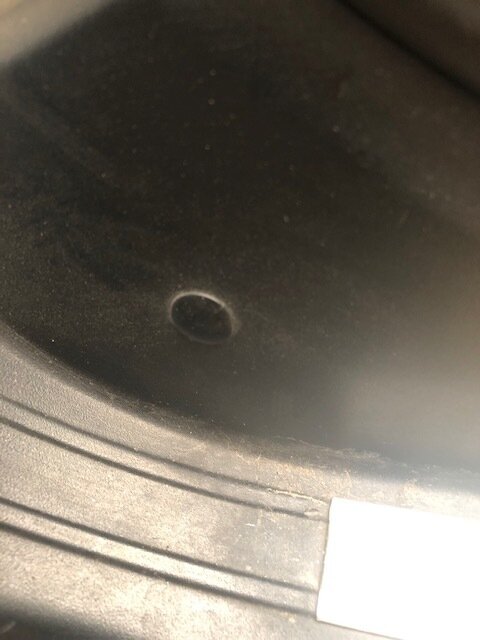
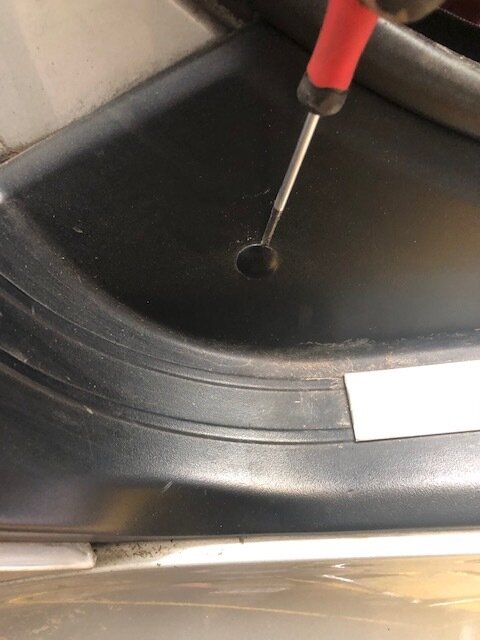
There are a couple of trim panels around the door aperture that need to be removed so that access can be gained to the top screws for the side sills and also the rear wings. The black banana shaped plastic trim covering the rear wing screws is held on with poppers and pulls off. The plastic sill cover has a fixing popper at the top and a number of poppers along its length. These often break when they are removed but these are cheap to buy on Ebay.
Fuel Cap
In order to make use of a rear wing mounted fuel filler cap the existing BMW cap has to be removed along with all its gubbins. Undo and remove the cap. Using a screw driver prize back the locking tabs. Using a breaker bar or something similar pull off the metal section. You need to be left with just the exposed plastic pipe so remove anything that’s not needed.